In this guide
Quick path
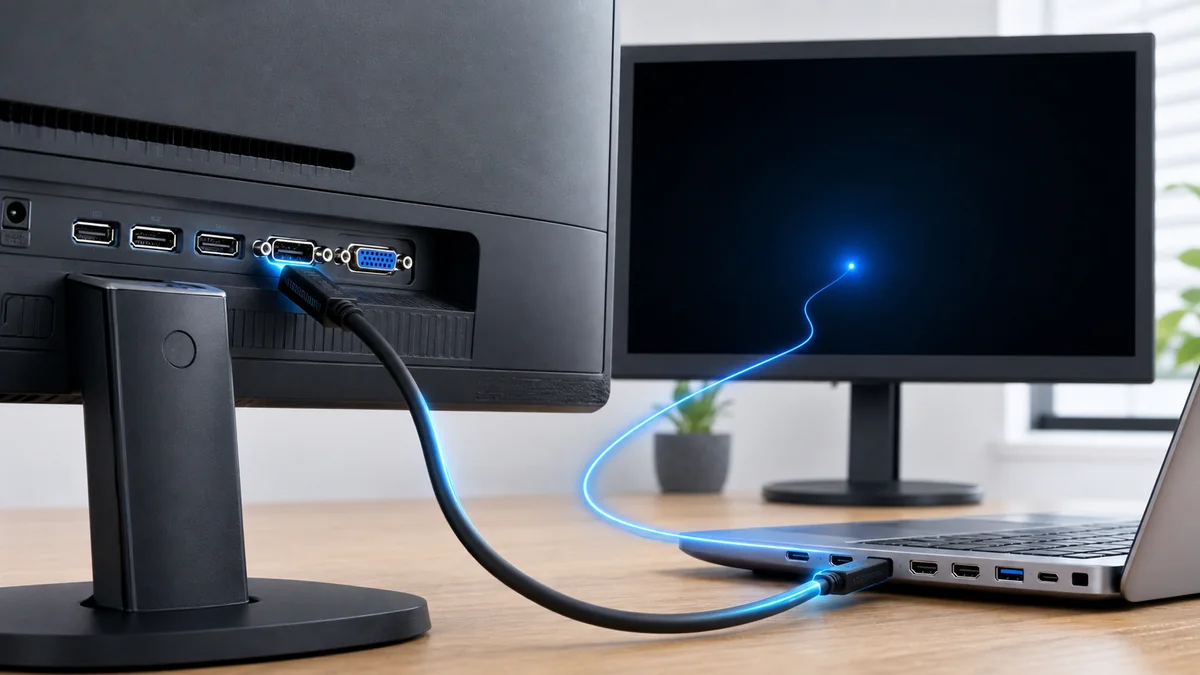
A monitor reporting “no signal” does not identify the failing component. The display may be listening to the wrong input, a USB-C port may support data but not video, or Windows may be set to use only the internal panel. Treat the connection as a chain and test one link at a time.
Select the monitor input manually
Choose the exact HDMI, DisplayPort, or USB-C input in the monitor menu. The purpose of this step is to avoid a failed automatic source selection. While testing, factory resetting the monitor is rarely the first step. Record the current state first, make only this change, and repeat the same real-world test. That sequence makes the result easier to trust and reduces the chance of disturbing a setting that already works.
Use a known-capable cable
Test a cable rated for the required resolution and refresh rate. The deciding factor here is whether it helps separate cable limits from graphics failure. Keep in mind that connector shape alone does not describe capability. Compare the result with the same device, file, account, or application for several minutes; a changed icon or a single successful attempt is not enough evidence of a lasting fix.
Verify USB-C video support
Check for DisplayPort Alt Mode or Thunderbolt on the computer port. This matters because it can confirm that the port can carry a display signal. However, charging and data support do not guarantee video. Changing several controls together may feel faster, but it hides the cause. Use a one-change, one-test routine and restore the previous value when the expected result does not appear.
Choose Extend in Windows
Use Win+P and the Detect control in Display settings. This check is especially useful when you need to move Windows away from internal-display-only mode. One caution is that avoid setting an unsupported resolution without a visible screen. Write down what you observe before moving on. A short record prevents repeated work and gives support staff something specific to reproduce if the issue continues.
Lower bandwidth for the test
Start with 60 Hz and the panel native resolution. The purpose of this step is to rule out cable or adapter bandwidth limits. While testing, custom timings can leave the display blank. Record the current state first, make only this change, and repeat the same real-world test. That sequence makes the result easier to trust and reduces the chance of disturbing a setting that already works.
Use the active graphics output
On a desktop connect the cable to the installed GPU when required. The deciding factor here is whether it helps avoid a motherboard port with no active integrated graphics. Keep in mind that never reach inside a powered computer. Compare the result with the same device, file, account, or application for several minutes; a changed icon or a single successful attempt is not enough evidence of a lasting fix.
Manage drivers conservatively
Consider rollback if detection failed immediately after an update. This matters because it can return to a known stable graphics path. However, a clean-driver wipe is not the opening move. Changing several controls together may feel faster, but it hides the cause. Use a one-change, one-test routine and restore the previous value when the expected result does not appear.
Cross-test both ends
Try the monitor with another source and the PC with another display. This check is especially useful when you need to identify which side of the chain fails. One caution is that warranty hardware should remain unopened. Write down what you observe before moving on. A short record prevents repeated work and gives support staff something specific to reproduce if the issue continues.
A practical order for testing
For External Monitor Not Detected in Windows: Cable, Port, Driver, and Display Checks, begin by choose the exact hdmı, displayport, or usb-c input in the monitor menu, observe the result, then move to start with 60 hz and the panel native resolution and finally try the monitor with another source and the pc with another display only when the symptom remains. This order preserves the first useful clue. If the initial check resolves the issue, deeper system or hardware changes add risk without adding evidence. Record the time, device or account used, exact message, and behavior after each meaningful change.
A single successful attempt is not a complete verification. Restart or reconnect normally, repeat the same task under ordinary conditions, and confirm that the intended account, cable, app, or profile is still in use. A result that survives several repetitions is stronger than a temporary improvement. When the symptom returns, restore experimental settings and continue from the last confirmed state rather than beginning a new collection of random tweaks.
Common mistakes to avoid
The most common mistake is applying every search result at once. In this case, factory resetting the monitor is rarely the first step and warranty hardware should remain unopened. Prepare a way back before changing access, personal data, firmware, or warranty-sensitive hardware. Save the original setting, keep an independent copy of important files, and prefer official vendor documentation. These small precautions prevent a narrow problem from turning into lost data or a second unrelated fault.
When to stop and ask for help
Disconnect any port or adapter that sparks, smells burnt, becomes unusually hot, or feels physically loose. Stop testing when there is a burning smell, battery deformation, liquid damage, repeated shutdown, or a serious risk of data loss. Avoid opening a device that is under warranty. Give support a timeline, the exact tests performed, and the before-and-after behavior.
Quick checklist
- Select the monitor input manually.
- Use a verified video-capable cable.
- Confirm USB-C video support.
- Try Extend mode at 60 Hz.
- Cross-test the PC and monitor separately.
Frequently asked questions
Should every step be applied?
No. Start with the section that matches the symptom and stop when the problem is confirmed. Good troubleshooting is about isolating the failing layer, not collecting permanent tweaks.
Why can the problem return later?
An update, a new app, account synchronization, cable movement, or changing temperature can alter the conditions. Keep a short note of the successful test and observe normal use for a few days before calling the issue resolved.