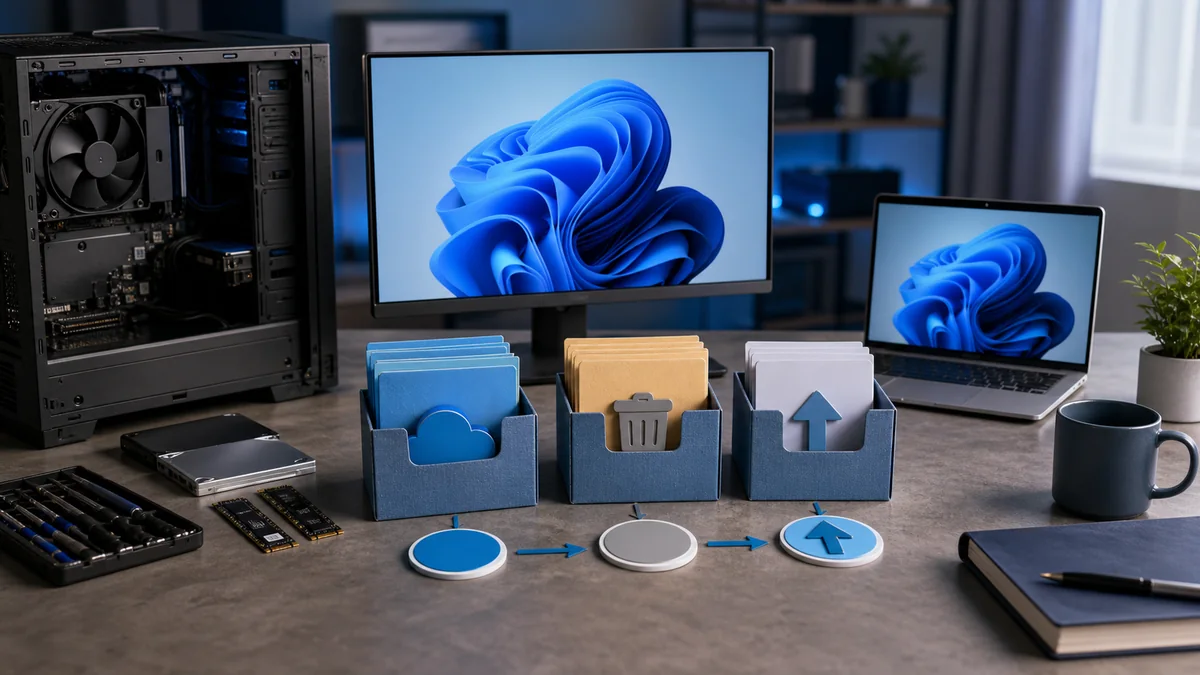
A nearly full Windows 11 drive does not always make a computer unusable, but it quietly creates problems. Updates need temporary space, browsers build large caches, cloud sync tools keep local copies, and creative apps can fill folders with previews or exports. The wrong response is to delete random folders until the warning disappears. A better cleanup starts by separating temporary data from personal files, then deciding whether the real issue is capacity rather than clutter.
Start with the storage map
Open Settings, choose System, then Storage. Windows groups space into apps, temporary files, documents, pictures, videos, desktop files, and other categories. This view is not perfect, but it helps you avoid guessing. If Temporary files are huge, Windows cleanup tools may solve the issue quickly. If Videos, Desktop, or Documents are the largest categories, you need a file organization plan before deleting anything.
For a comfortable Windows 11 system, try to keep roughly 15 percent of the system drive free. On a 256 GB SSD, that means around 35 to 40 GB. On a 512 GB SSD, it means roughly 70 GB. The number is not a strict technical rule, but it gives Windows room for updates, restore points, app caches, and temporary work files. If your drive keeps dropping below 10 GB free, routine cleanup may no longer be enough.
Safe places to clean first
The Temporary files page is usually the safest starting point. Windows Update Cleanup, Delivery Optimization Files, thumbnails, temporary internet files, and the recycle bin can often be removed without affecting your documents. Read the checkboxes carefully. Do not select Downloads automatically unless you have already checked that folder. Many people keep invoices, installers, photos, and important PDF files there without realizing it.
The classic Disk Cleanup tool is still useful. Search for Disk Cleanup from the Start menu, choose the system drive, and then select Clean up system files. This uses Microsoft’s built-in cleanup process and is usually more predictable than third-party “speed booster” apps. Registry cleaners and one-click optimizer tools rarely free meaningful space, and they can change settings that were not causing the problem.
Files you should protect before deleting
Personal documents, photos, password manager exports, browser profile backups, tax files, and project folders should never be part of a rushed cleanup. Desktop and Documents folders may also be connected to OneDrive. If you delete a synced file locally, it may also disappear from the cloud depending on your settings. When using OneDrive, the “Free up space” option is often safer than manual deletion because it removes the local copy while keeping the file online.
Application folders deserve caution too. Some games store saves in Documents. Some editing apps keep project assets in custom folders. Some business tools place templates or local databases under AppData. Unless you know what a folder does, do not delete it just because it is large. Use the application’s own cache cleanup, archive, or project management feature whenever possible.
Find the large files that actually matter
File Explorer can search by size. Try size:gigantic to show files over 4 GB, or use a custom size filter such as larger than 1 GB. Sort by folder path and date modified. Old ISO files, screen recordings, virtual machine disks, phone backups, exported videos, and game installers are common space hogs. These are easier to review than thousands of tiny files.
If you use video editors, photo tools, local AI apps, or developer environments, check their cache and model folders. These tools can create preview files, render caches, local package stores, and temporary outputs that grow quickly. Some of that data can be recreated, but active projects should be archived first. A good rule is simple: if the folder belongs to a current project, move or back it up before cleaning; if it is an old cache, use the app’s cleanup option first.
Configure Storage Sense carefully
Storage Sense can automate part of the cleanup. In Settings > System > Storage > Storage Sense, you can remove temporary files, empty the recycle bin after a set number of days, and manage locally available cloud content. A balanced setup is to remove temporary files automatically and clear the recycle bin after 30 days. Be careful with automatic deletion from Downloads, especially if you regularly save work files there.
Storage Sense is helpful, but it is not a substitute for file organization. For the first few weeks after enabling it, check the Storage page occasionally. Make sure it matches your habits. If you often download client files, bank documents, or software installers that you need later, keep Downloads manual and create a simple archive folder instead.
Uninstall apps with context
Settings > Apps > Installed apps lets you sort by size. Large games, old trial software, unused device utilities, and duplicate creative tools are obvious candidates. But size alone is not the full story. Manufacturer utilities, drivers, VPN clients, and work applications may be needed even if you do not open them directly. If you do not recognize an app, look it up before removing it.
Browser profiles can also occupy a surprising amount of space. Chrome, Edge, Firefox, and other browsers keep separate caches, downloads, extensions, and profile data. If you have old browser profiles or unused extensions, cleaning one browser will not fix the whole issue. Review each browser you actually use, then remove extensions that no longer serve a purpose.
When cleanup becomes the wrong solution
If you repeat the same cleanup every month and still run out of room, the drive may simply be too small. A 128 GB system drive is tight for Windows 11, Office apps, browsers, meeting software, phone backups, and modern productivity tools. A 256 GB drive can work for light use, but 512 GB is a more comfortable baseline for people who store media, games, development tools, or local AI models.
Before upgrading, confirm the type of SSD your computer supports. M.2 NVMe, M.2 SATA, and 2.5-inch SATA drives are not interchangeable in every laptop or desktop. For laptops, also check warranty terms, screw access, thermal pads, and whether the drive is user replaceable. Back up your files first, save your BitLocker recovery key if encryption is enabled, and clean unnecessary files before cloning the old drive.
A simple weekly routine
- Review Downloads and Desktop.
- Empty the recycle bin after checking it.
- Move finished projects to an archive folder or external drive.
- Remove old installers and exported videos.
- Check Storage Sense results.
- Keep at least 15 percent of the system drive free.
The best Windows 11 storage cleanup is not aggressive. It is careful, boring, and repeatable. Use built-in tools first, protect personal files, understand cloud sync behavior, and upgrade the SSD when your workload has outgrown the drive. That approach frees space without turning cleanup into a data recovery problem.