A security scan is useful, but an app audit is broader. A scanner can flag known harmful behavior; it cannot decide whether a shopping app still needs location, whether an old photo editor should keep cloud access, or whether you understand a subscription you no longer use. A good audit combines Play Protect, Android’s permission records, special-access settings, resource use, and a short human review.
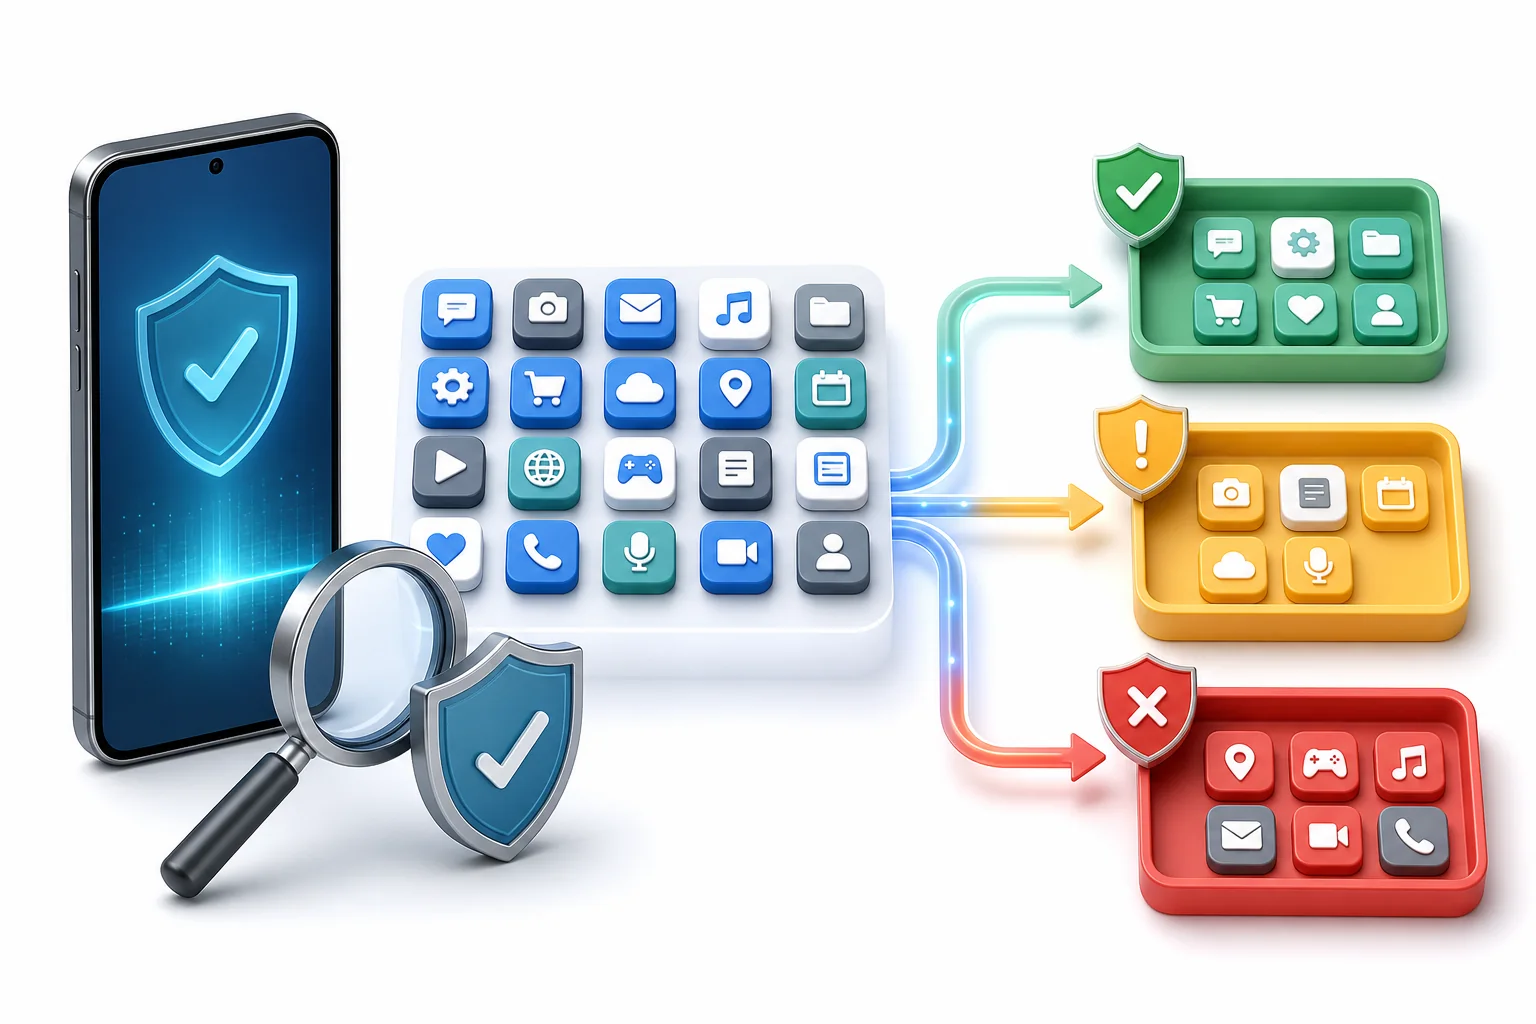
Set aside 20 minutes and avoid changing everything at once
Charge the phone, connect to a trusted network, and make sure important photos and account recovery details are backed up. The goal is not to remove the largest number of apps. It is to reduce unexplained access while keeping the phone usable. If the device is managed by an employer or school, do not remove work-management tools without checking policy.
Step 1: Run Google Play Protect
Open the Google Play Store, tap the profile picture, select Play Protect, and run a scan. Review the named app and the reason if a warning appears. Play Protect checks apps from Google Play before download and also checks the device for potentially harmful apps from other sources. Keep automatic scanning enabled.
Record the result, but do not end the audit because the screen says no harmful apps were found. Privacy overreach, abandoned software, aggressive advertising, and unwanted subscriptions may not match a malware signature.
Step 2: Build an inventory you can understand
In Settings, open Apps and show all apps. Sort by recently installed, recently updated, or last used when your phone supports it. Mark apps you do not recognize. Before removing one, search its exact name and package context; some system components have technical names and no launcher icon.
Use three groups:
- Keep: known, used, maintained, and appropriately permissioned.
- Review: unfamiliar, rarely used, sensitive, or recently changed.
- Remove: no longer needed, unsupported, duplicated, or clearly unwanted.
Step 3: Review permissions by data type
Permission Manager is faster than opening every app. Review camera, microphone, location, contacts, SMS, phone, nearby devices, photos and videos, and files. Ask why each listed app needs access now. Prefer “only while using,†“ask every time,†approximate location, or selected photos when those options meet the feature.
Android can automatically pause unused apps and remove permissions on supported versions. Enable that protection for apps you keep only occasionally.
Step 4: Use the Privacy dashboard for recent evidence
On supported Android versions, the Privacy dashboard shows which apps recently accessed permissions such as camera, microphone, and location. A permission being granted is one fact; recent access at an unexpected time is stronger evidence. Open an entry and change the permission if the timing does not match your use.
Step 5: Inspect powerful special access
Special access can matter more than the familiar camera and location prompts. Menu names vary by manufacturer, but search Settings for:
- Accessibility services: can observe content and perform actions.
- Notification access: can read and act on notifications.
- Display over other apps: can place content above another app.
- Device admin apps: may enforce locks or complicate removal.
- Install unknown apps: allows a browser or file manager to install APKs.
- VPN: can route device traffic through a service.
- Usage access: can see app-use patterns.
Do not disable a role merely because it is powerful. Confirm the feature that depends on it. A password manager, accessibility aid, work profile, or trusted VPN may have a valid reason.
Step 6: Compare battery, data, and storage behavior
Review battery use over at least a day and mobile data over a billing period or several days. Navigation, video, backup, and messaging naturally use resources. Investigate an app that you rarely open but that remains active in the background, sends large amounts of data, or grows storage without an understandable cache or download feature.
Step 7: Check installation source and update path
Apps installed from Google Play have a clear update channel. For apps installed elsewhere, verify that the source is the developer’s official site and that updates are signed and delivered predictably. Remove old APK files from Downloads. Revoke the browser’s or file manager’s install-unknown-apps permission when the one legitimate installation is complete.
Step 8: Review account and billing ties
Open the app only if it appears safe enough to inspect. Check linked accounts, active sessions, cloud backups, subscription status, and account deletion options. Uninstalling an app does not necessarily cancel a subscription or delete server-side data. Complete those steps separately and retain confirmation.
Step 9: Remove in a controlled order
For an unwanted ordinary app, clear sensitive permissions and uninstall it. If uninstall is blocked, check device administration and accessibility first. Restart the phone after removing an app suspected of overlays, redirects, or persistent background behavior. Test before removing the next candidate so you know which change solved the symptom.
Step 10: Recheck the phone
Run Play Protect again, review special-access lists, and verify that unusual ads, redirects, battery drain, or network use have stopped. Install operating-system and app updates from official sources. If account alerts continue, treat the online account as a separate incident: change credentials from a trusted device and review sessions.
A monthly five-minute version
- Run Play Protect and review its status.
- Remove one app you no longer use.
- Check location, camera, and microphone in Permission Manager.
- Review accessibility and notification access.
- Look at the top battery and mobile-data users.
That short routine is more sustainable than waiting for the phone to behave badly and then installing an unfamiliar “cleaner.â€
Build the wider picture
Review the nine warning signs of a risky app and use the pre-install safety checklist for future downloads.